Carbon Black App For Splunk
Carbon Black has put a lot of effort into developing a new, unified app for Splunk that integrates alert and event data from workloads and endpoints into Splunk dashboards. In addition to that, it fully utilizes the Splunk Common Information Model, so we don’t have to deal with event normalization.
There are several good reasons to integrate Carbon Black events and alerts into Splunk. The most interesting use cases for me are data enrichment and correlation. I might get more into detail about this in a future post. Today, I’d like to focus on installation options and the setup.
Deployment Options
There are two options for getting Carbon Black Cloud (CBC) data into Splunk:
1. CBC Event Forwarder
2. CBC Input Add-On
Using the event forwarder (option 1) is the recommended way to get alert data into Splunk and - at the time of writing - it is the only way to get event data ingested. A setup would look like this (on a distributed environment):

This option has a low latency, while being reliable, and scalable. Therefore, it should be the preferred way for data ingestion, but since I don’t have an AWS S3 bucket, I’m going to choose the second option.
There is an excellent writeup available in the community and a solid documentation on the developer page if you want to learn more about the first option!
Installing the Carbon Black App for Splunk
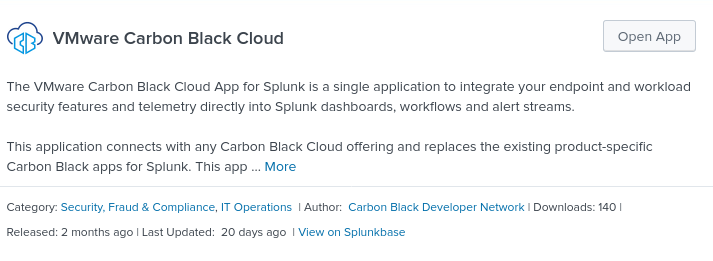
Now, let’s get started. First of all, I’ll install the Carbon Black App for Splunk. I have a single on-premise server instance of Splunk, so I’ll just install the “VMware Carbon Black Cloud” app from Splunkbase.
When it comes to distributed Splunk environments, you’ll need to do additional installations on your indexing tier and the heavy forwarder.
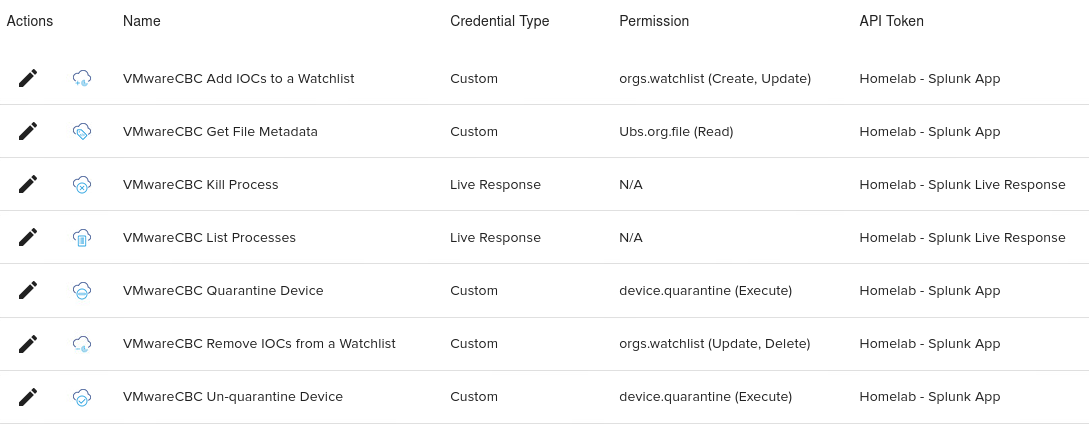
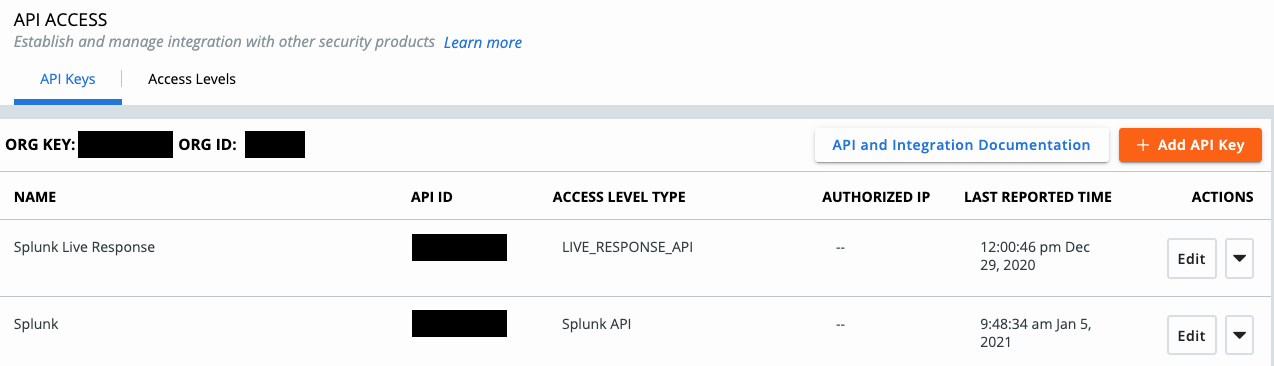
Creating API keys
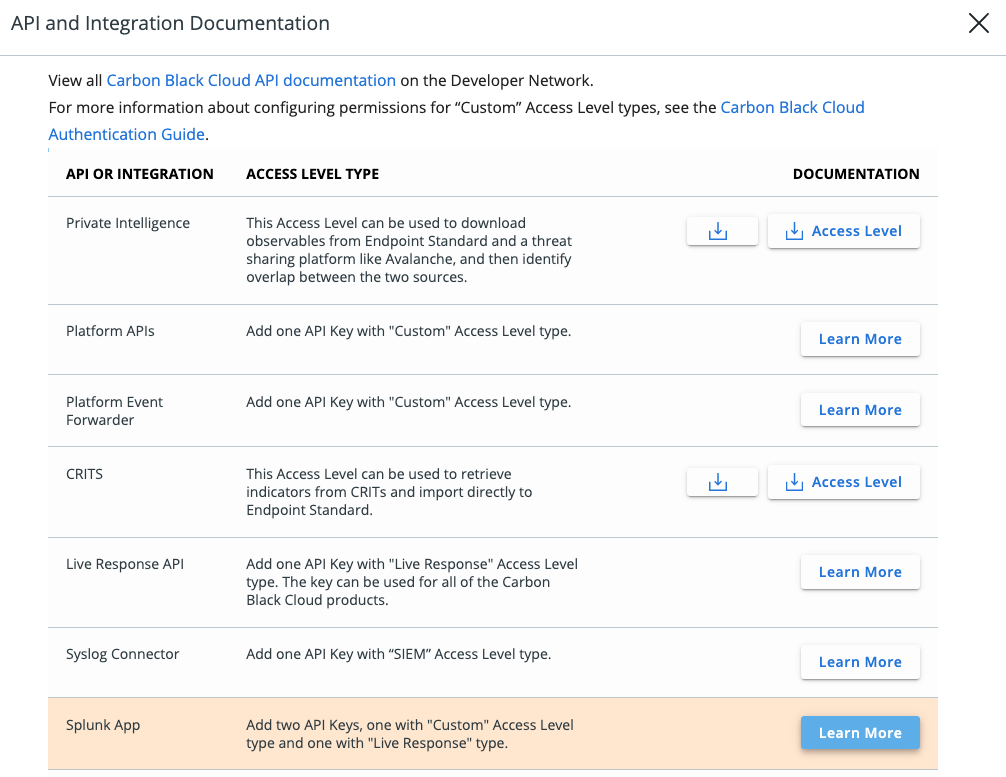
Splunk needs API access to receive data, but also for workflows and Live Response. To create the API keys I switch to the Carbon Black console and navigate to:
Settings > API Access > API Access Levels > Add Access Level
I named it “Splunk API” and assigned the permissions as in the table below:

Once that has been done, it’s time to create two new API keys. The first one is using the custom access level, that’s just been created. The second API key is for Live Response, so the preset “Live Response”- Access Level can be assigned to it.
Setup Carbon Black App for Splunk
Moving on to the Splunk setup, the first thing is to open the setup page:
Apps > Manage Apps > VMware Carbon Black Cloud “Set up”
I recommend changing the base index to avoid the use of Splunk’s default index “main”. At this point in time, I had already created a new index called “carbonblack”, which I then set as the “VMware CBC Base Index” under the Application Configuration page.
On the same page, you can find a checkbox for data model acceleration. If you’re about to index more than a few GB of Carbon Black data per day, check this box. That’s not the case for me, so I’ll leave it by default and continue with the “API Token Configuration”-Tab.
The API token configuration is pretty straight forward, simply copy & paste the previously created API credentials for alerts and Live Response.

Because I’m using the Alerts API instead of the Event Forwarder, the “Alert Ingest Configuration” has to be configured and will allow us to set Loopback and Interval and to select a filter for a minimum alert severity.
To finalize the configuration I assign the API keys as follows: