NSX-T Upgrade to Version 3.1
VMware has announced the NSX-T Version 3.1 at 30th of October 2020. I want to describe within this blog post how to update from Version 3.0 to Version 3.1.
There are many new features available with NSX-T 3.1, like:
IPS (Intrusion Prevention System)
Enhanced Multicast capabilities
Federation is useable for Production. With NSX Federation it is possible to manage several sites with a Global Manager Cluster.
Support for vSphere Lifecycle Manager (vLCM)
Many other features has been also added to the new release. You can check details on the VMware Release Notes for 3.1: https://docs.vmware.com/en/VMware-NSX-T-Data-Center/3.1/rn/VMware-NSX-T-Data-Center-31-Release-Notes.html
My LAB has two VM Edge Transport Nodes configured with BGP routing northbound over Tier-0 and dedicated Tier-1 components (see Picture 1). I have a vSphere Management Cluster with two ESXi Hosts which are not prepared for NSX. The NSX-Manager and the NSX Edges are located on the Management Cluster. A Compute Cluster with two ESXi Hosts and one KVM Hypervisor are used for the Workloads.

Picture 1: LAB Logical Design
Before you start with the configuration you have to check the Upgrade checklist from the NSX-T upgrade guide. The upgrade guide is available on the VMware documentation centre https://docs.vmware.com/en/VMware-NSX-T-Data-Center/3.1/upgrade/GUID-E04242D7-EF09-4601-8906-3FA77FBB06BD.html and can be download as a pdf file also.
One important point from the checklist is to verify the supported Hypervisor Upgrade Path, i.e. in my LAB the KVM Ubuntu 16.04 was no more supported with NSX-T 3.1.
After you have verified the precheck documentation you can download the upgrade software bundle for NSX-T 3.1 from the VMware Download centre. NSX-T upgrade bundle size is 7,4 GByte. As always for security reason it is recommended to verify the checksum from the software.
Now we want to start the migration. You need first to navigate to the NSX-T Manager GUI - System - Upgrade. The first step is to upload the installation file locally or from a remote location (see Picture 2). For performance reason locally should be prefered. It takes me about 10 minutes to upload the mub file locally.

Picture 2: NSX-T Upgrade
When the software is uploaded four steps are mandatory to finalize the upgrade:
Run Pre-checks
Edges
Hosts
Management Nodes
Run Pre-checks
Before we upgrade the components we need to run a pre-check first (see Picture 3). Pre-checks can be run overall or individually for Edges, Hosts and Management Nodes. The pre-checks can be export to a csv file. In my Lab the system has shown some warnings. For the Edges and for the NSX Manager I have received warnings that my root and admin password for the edges will be expired soon. The warning was seen within the NSX-T Manager alarms upfront also but I have not checked this before:-) For the Hosts I got the message that my KVM Ubuntu version is not compatible with NSX-T 3.1.

Picture 3: Upgrade Pre-check
Edge Upgrade
After the pre-checks have been verified the next step is the Edge Upgrade (See Picture 4). You can work with the serial or parallel options. Serial means to upgrade all the cluster upgrade unit groups consecutively. Parallel option means to upgrade all the Edge upgrade unit group simultaneously. Serial and parallel options can be set across groups and within groups. I have only one group because I have only one Edge Cluster. Within a Edge Cluster the order should be always consecutively. You can check the configuration process under details, there you get log entries from the installation.

Picture 4: Edge upgrade
Hosts Upgrade
The next steps of the migration is the Hosts Upgrade (see Picture 5). You can realize it also with the parallel or serial options. The maximum limit for a simultaneous upgrade is five host upgrade unit groups and five hosts per group.
Verify that ESXi hosts that are part of a disabled DRS cluster or standalone ESXi hosts are placed in maintenance mode.
For ESXi hosts that are part of a fully enabled DRS cluster, if the host is not in maintenance mode, the upgrade coordinator requests the host to be put in maintenance mode. vSphere DRS migrates the VMs to another host in the same cluster during the upgrade and places the host in maintenance mode.

Picture 5: Edge Upgrade
Management Nodes Upgrade
The last step is the NSX-T Manager Upgrade (see Picture 6). For my LAB I have only one NSX-T Manager in place and the process is quit forward.
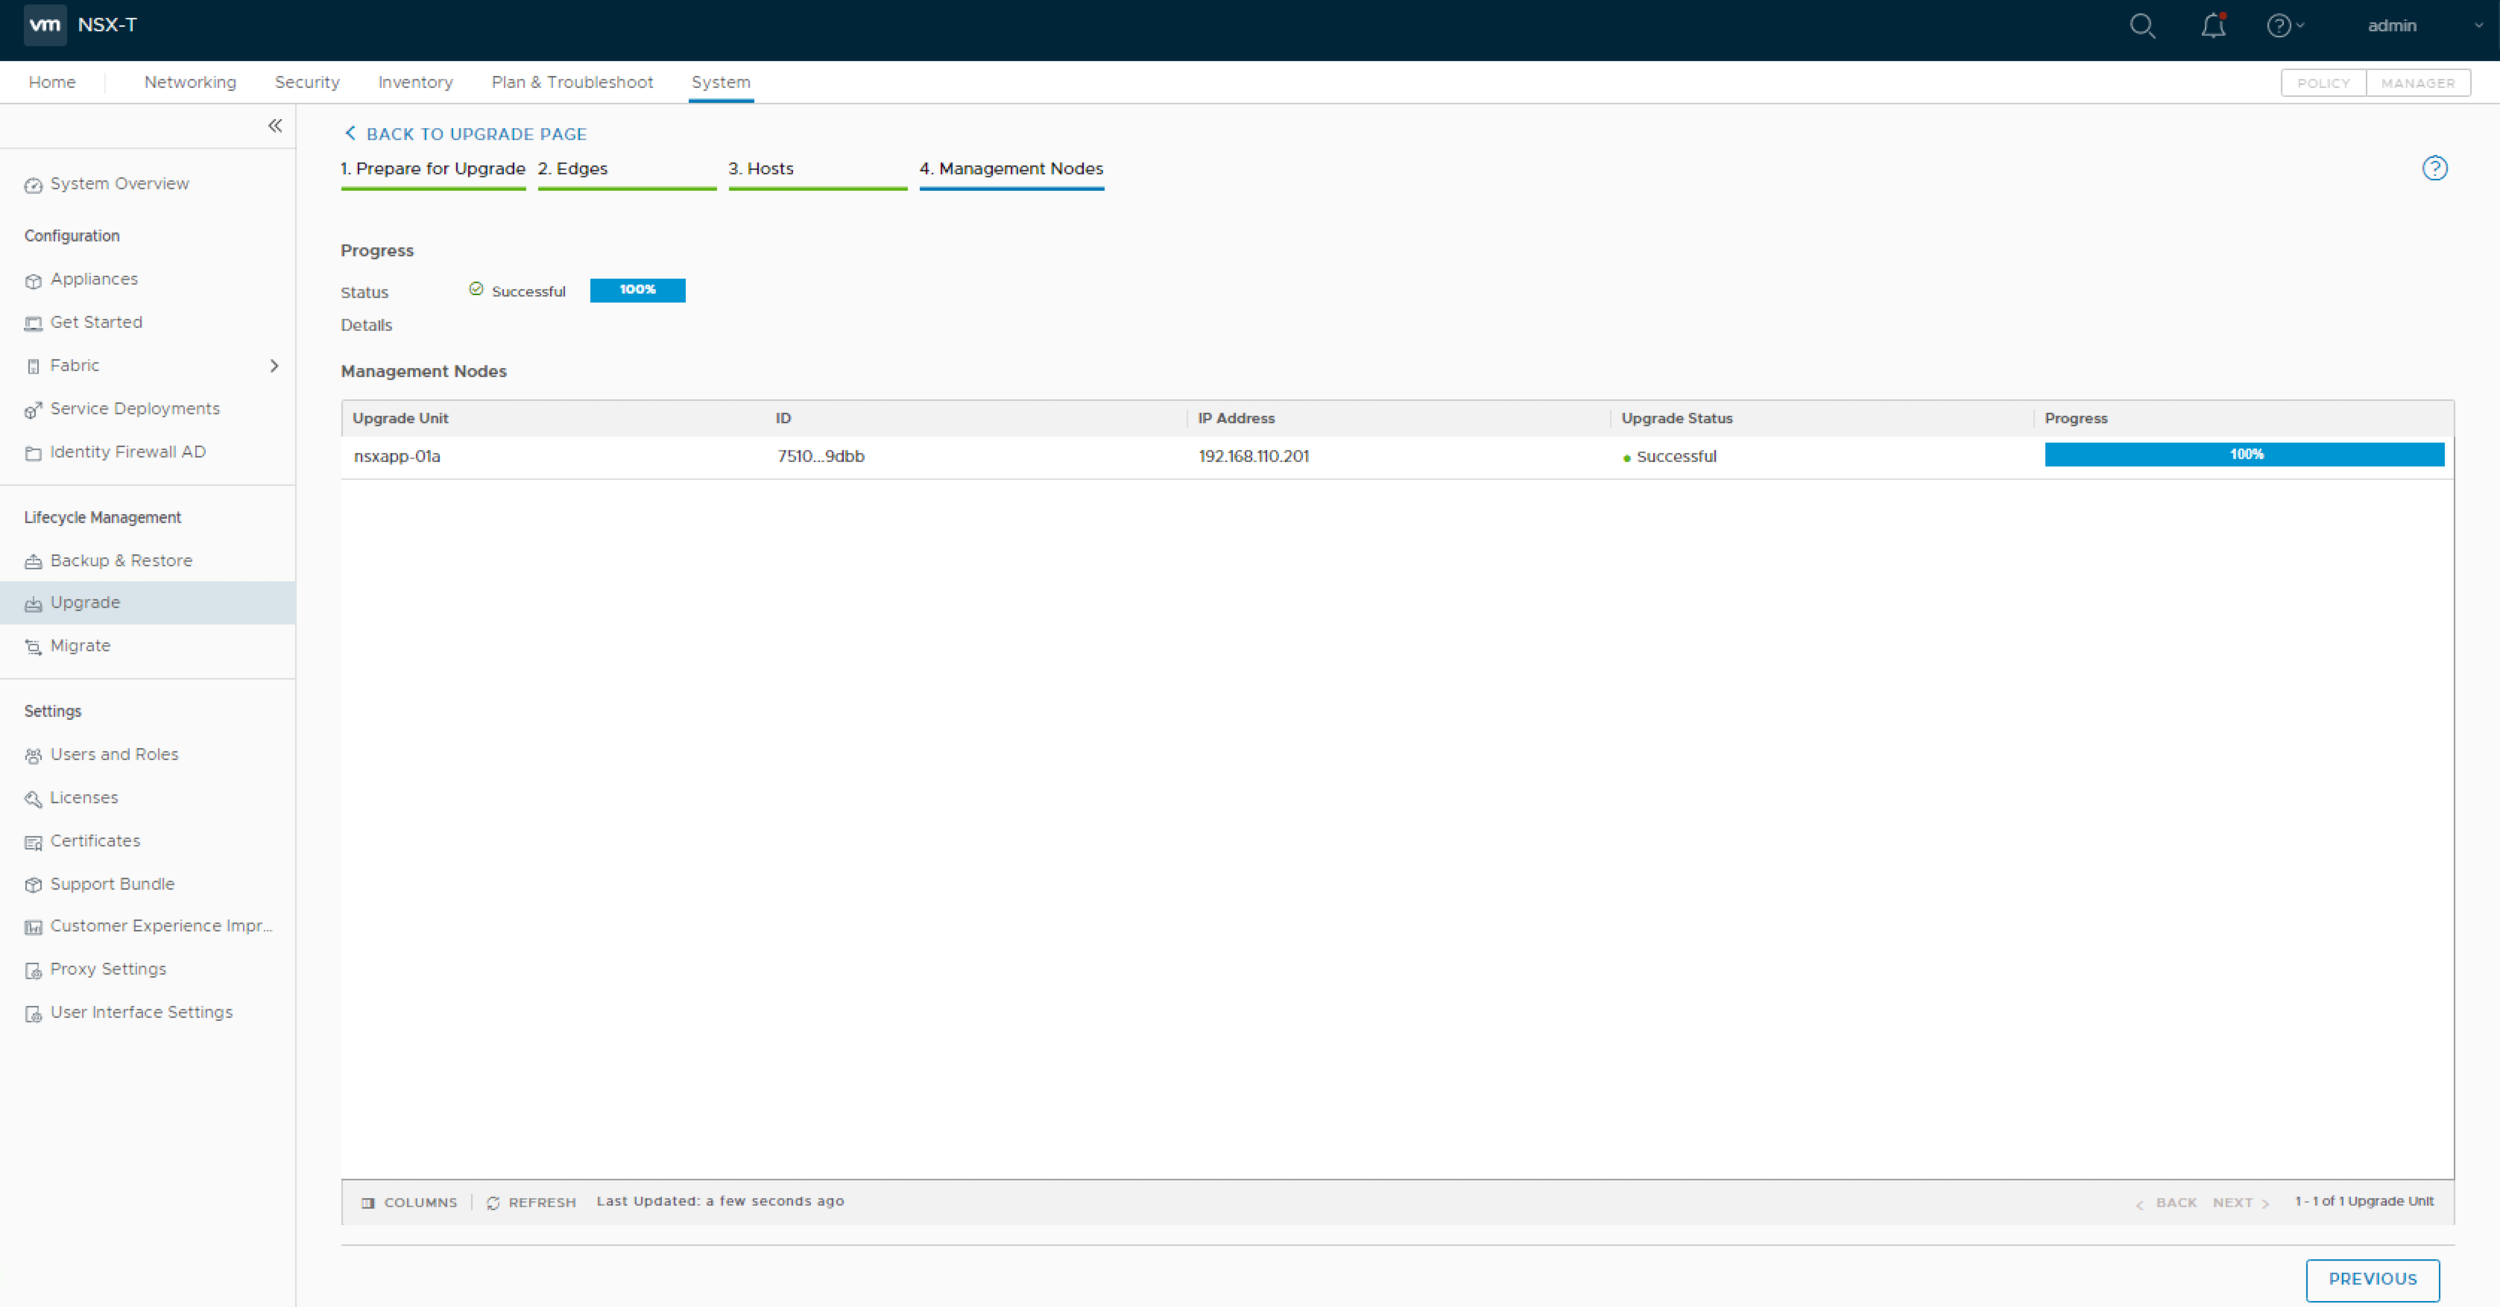
Picture 6: NSX-T Manager Upgrade
Summary
The NSX-T 3.1 upgrade is really simple and needs not to be realized in one step. The update is possible with less or without downtime depending on your NSX-T design. My recommendation is to do the Edge and the NSX Manager upgrade in a mainteance window. The Transport Nodes can be updated afterwards in business hours. The serial and parallel option is also very helpful there.